Create Your Landing Page in Minutes with React, Next.js, and AWS
If you need to quickly build a professional-looking landing page, this guide is for you. We'll use modern tools like UXPilot, v0.dev, React, Next.js, and AWS Amplify to streamline the entire process—from design to deployment.

✨ What Are We Building?
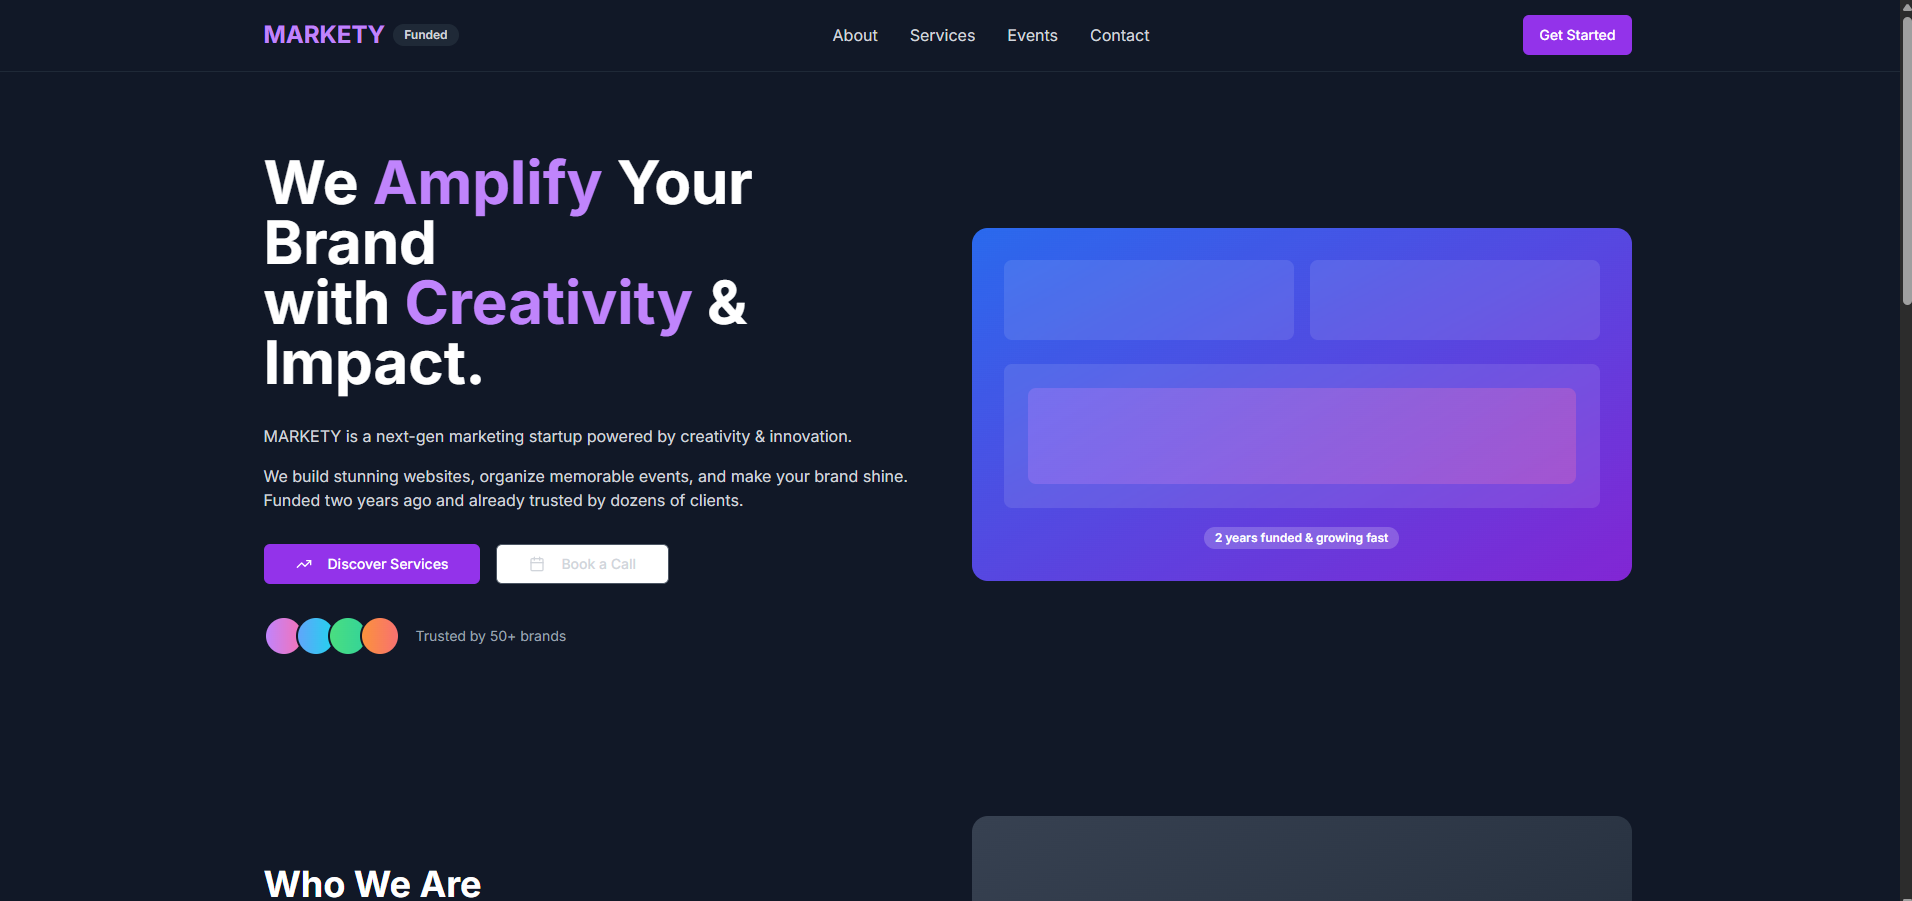
A simple and functional landing page, created from an AI-generated layout, with a React frontend hosted on AWS, all connected to your GitHub repo.
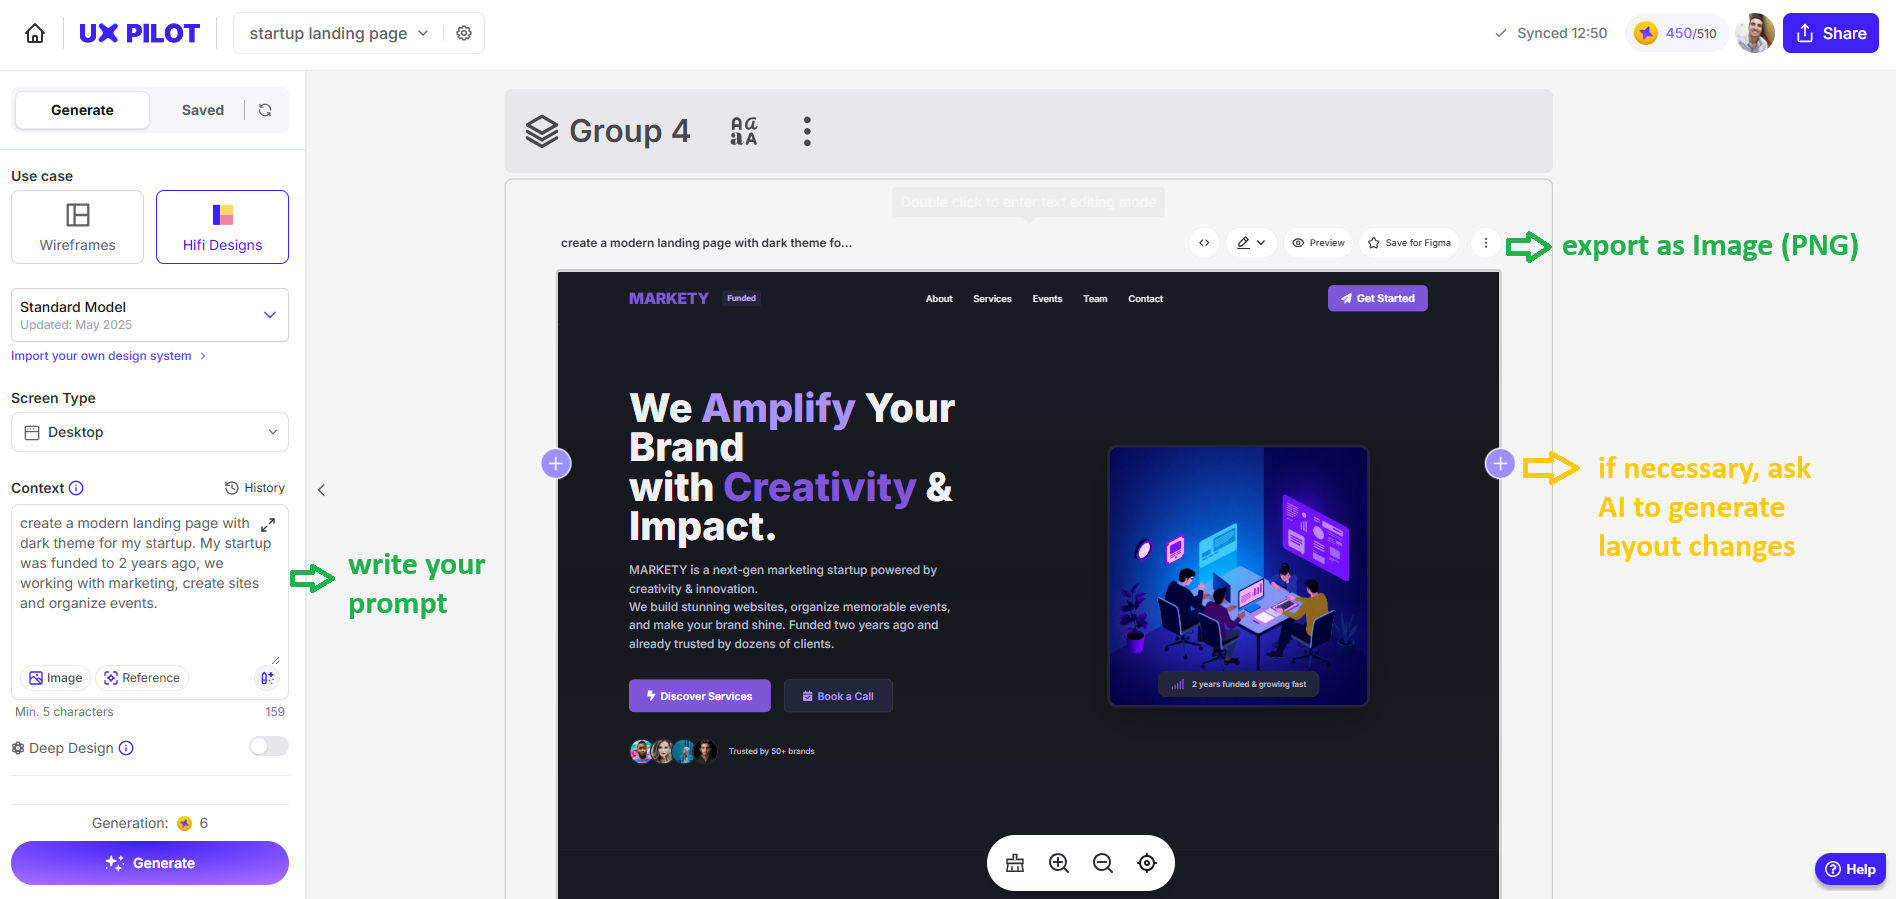
1. Creating the Layout with UXPilot
- Go to uxpilot.ai.
- Type a prompt describing the type of landing page you want (e.g., "productivity app landing page").
- Choose one of the AI-generated layout options.
- Export the layout (typically as an image).
* if necessary, ask to AI to generate others layout or adaptations.
2. Generating Code with v0.dev
- Go to v0.dev.
- Paste or upload the layout content from UXPilot and write your prompt to v0 create a project with react and next.js.
- V0.dev will auto-generate React code (typically using Tailwind CSS).
- Download the code created by v0 and install by npx in your terminal.
* verify if v0 created all files needed, if necessary, ask to AI to generate or fix the possible bug.
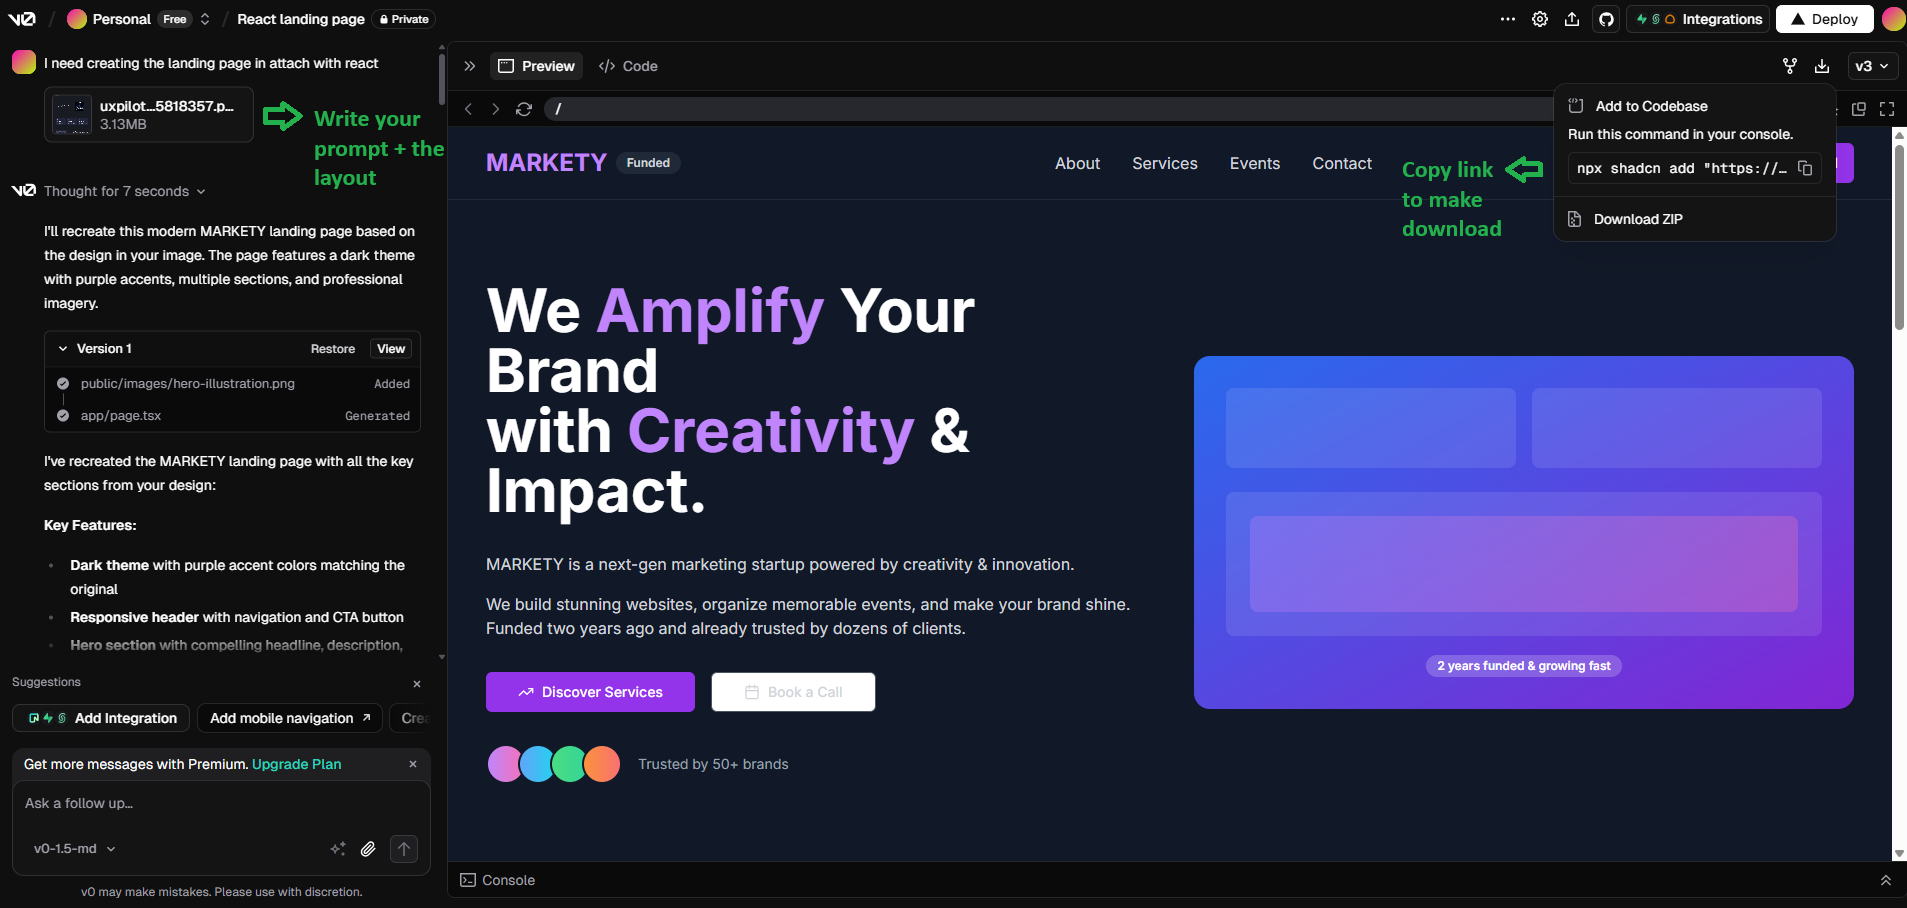
* when you running the code to download, you need to answer all items in the terminal
npx shadcn@latest add "https://v0.dev/chat/b/..."cd my-landing-page
npm install3. Running the Project Locally
npm run devVisit http://localhost:3000 in your browser.
4. Pushing the Code to GitHub
- Create a new repository in your GitHub
- Connect your GitHub repo with local project (using your repository link).
git init
git add .
git commit -m "initial landing page"
git remote add origin https://github.com/your-user/your-repo.git
git push -u origin main5. Deploying with AWS Amplify
What is AWS Amplify?
AWS Amplify is a set of tools and services from Amazon Web Services that enables developers to build, deploy, and host full-stack web and mobile applications quickly. For frontend projects like React and Next.js apps, Amplify makes it easy to connect your GitHub repository and deploy changes automatically whenever you push code.
Steps to deploy:
- Sign in to AWS Amplify.
- Click “New App” > “Host Web App”.
- Connect your GitHub repository and select the correct branch.
- Review the default build settings (Amplify automatically detects Next.js).
- Click Deploy and wait for the process to complete.
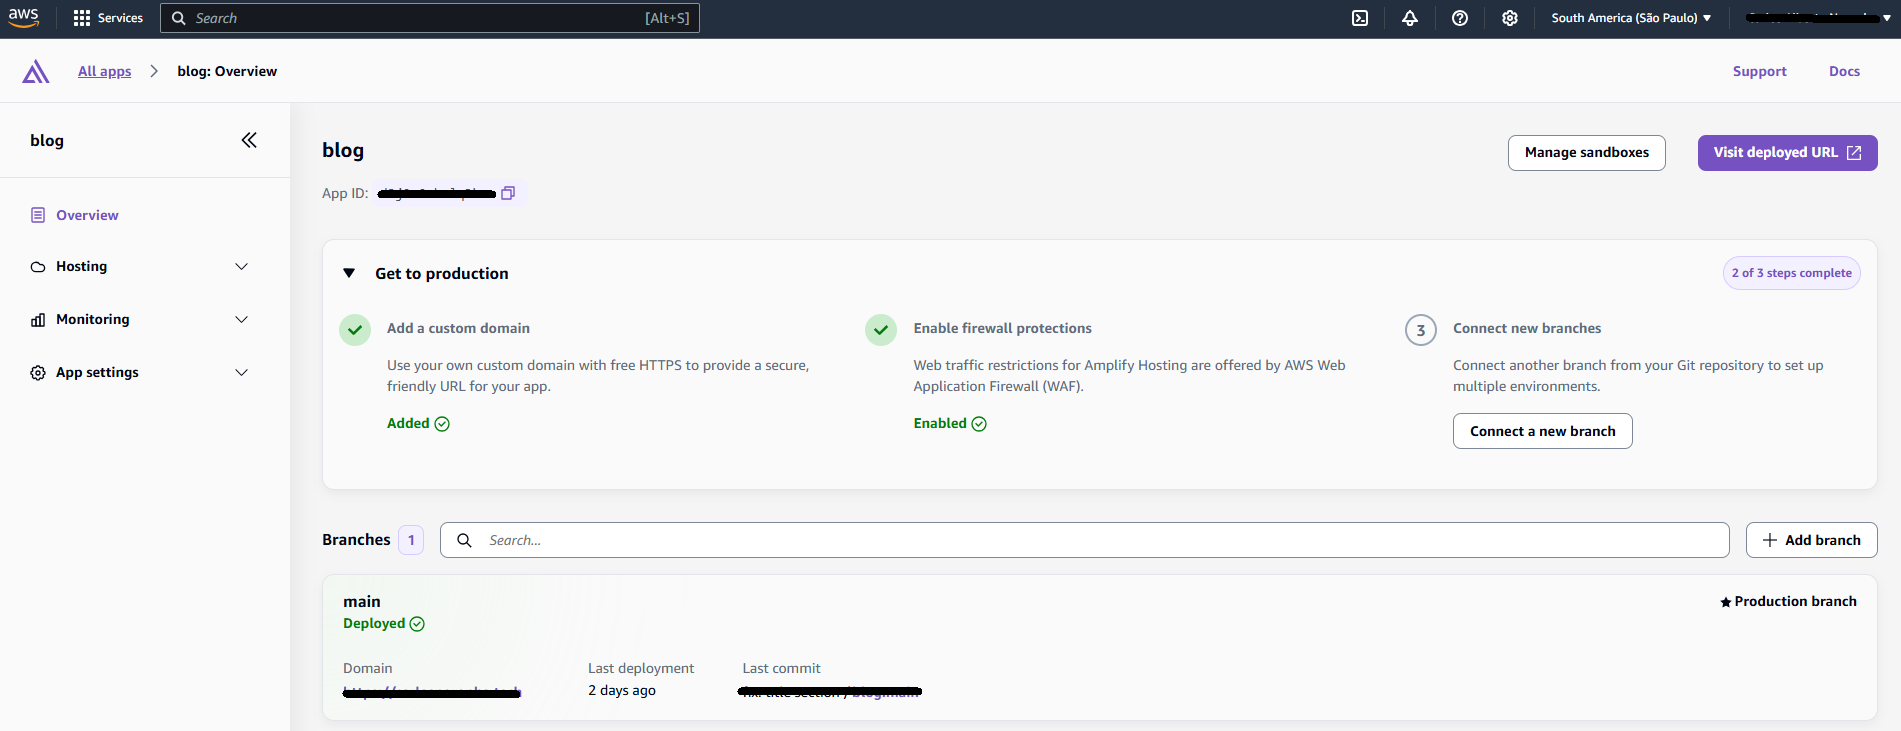
* You'll receive a public URL like: https://your-app-id.amplifyapp.com
🌐 Using a Custom Domain with AWS Route 53
- Buy a domain (e.g., on GoDaddy, Namecheap, Hostgator).
- Go to “Domain management” in Amplify and click “Add domain”.
- Point your DNS to AWS servers.
- AWS will use Route 53 to manage your records.
🌟 Final Thoughts
As you saw, creating a landing page with modern tools and AI is fast and efficient. Try adding:
- Full responsiveness
- Tracking tools
- SEO enhancements
- Contact forms via API or email
Enjoyed this article? Share it and tag your deployment link!